ADVERTISEMENT
Instructions: Step-by-Step Guide to Canning Baked Beans
Step 1: Prepare and Cook the Beans
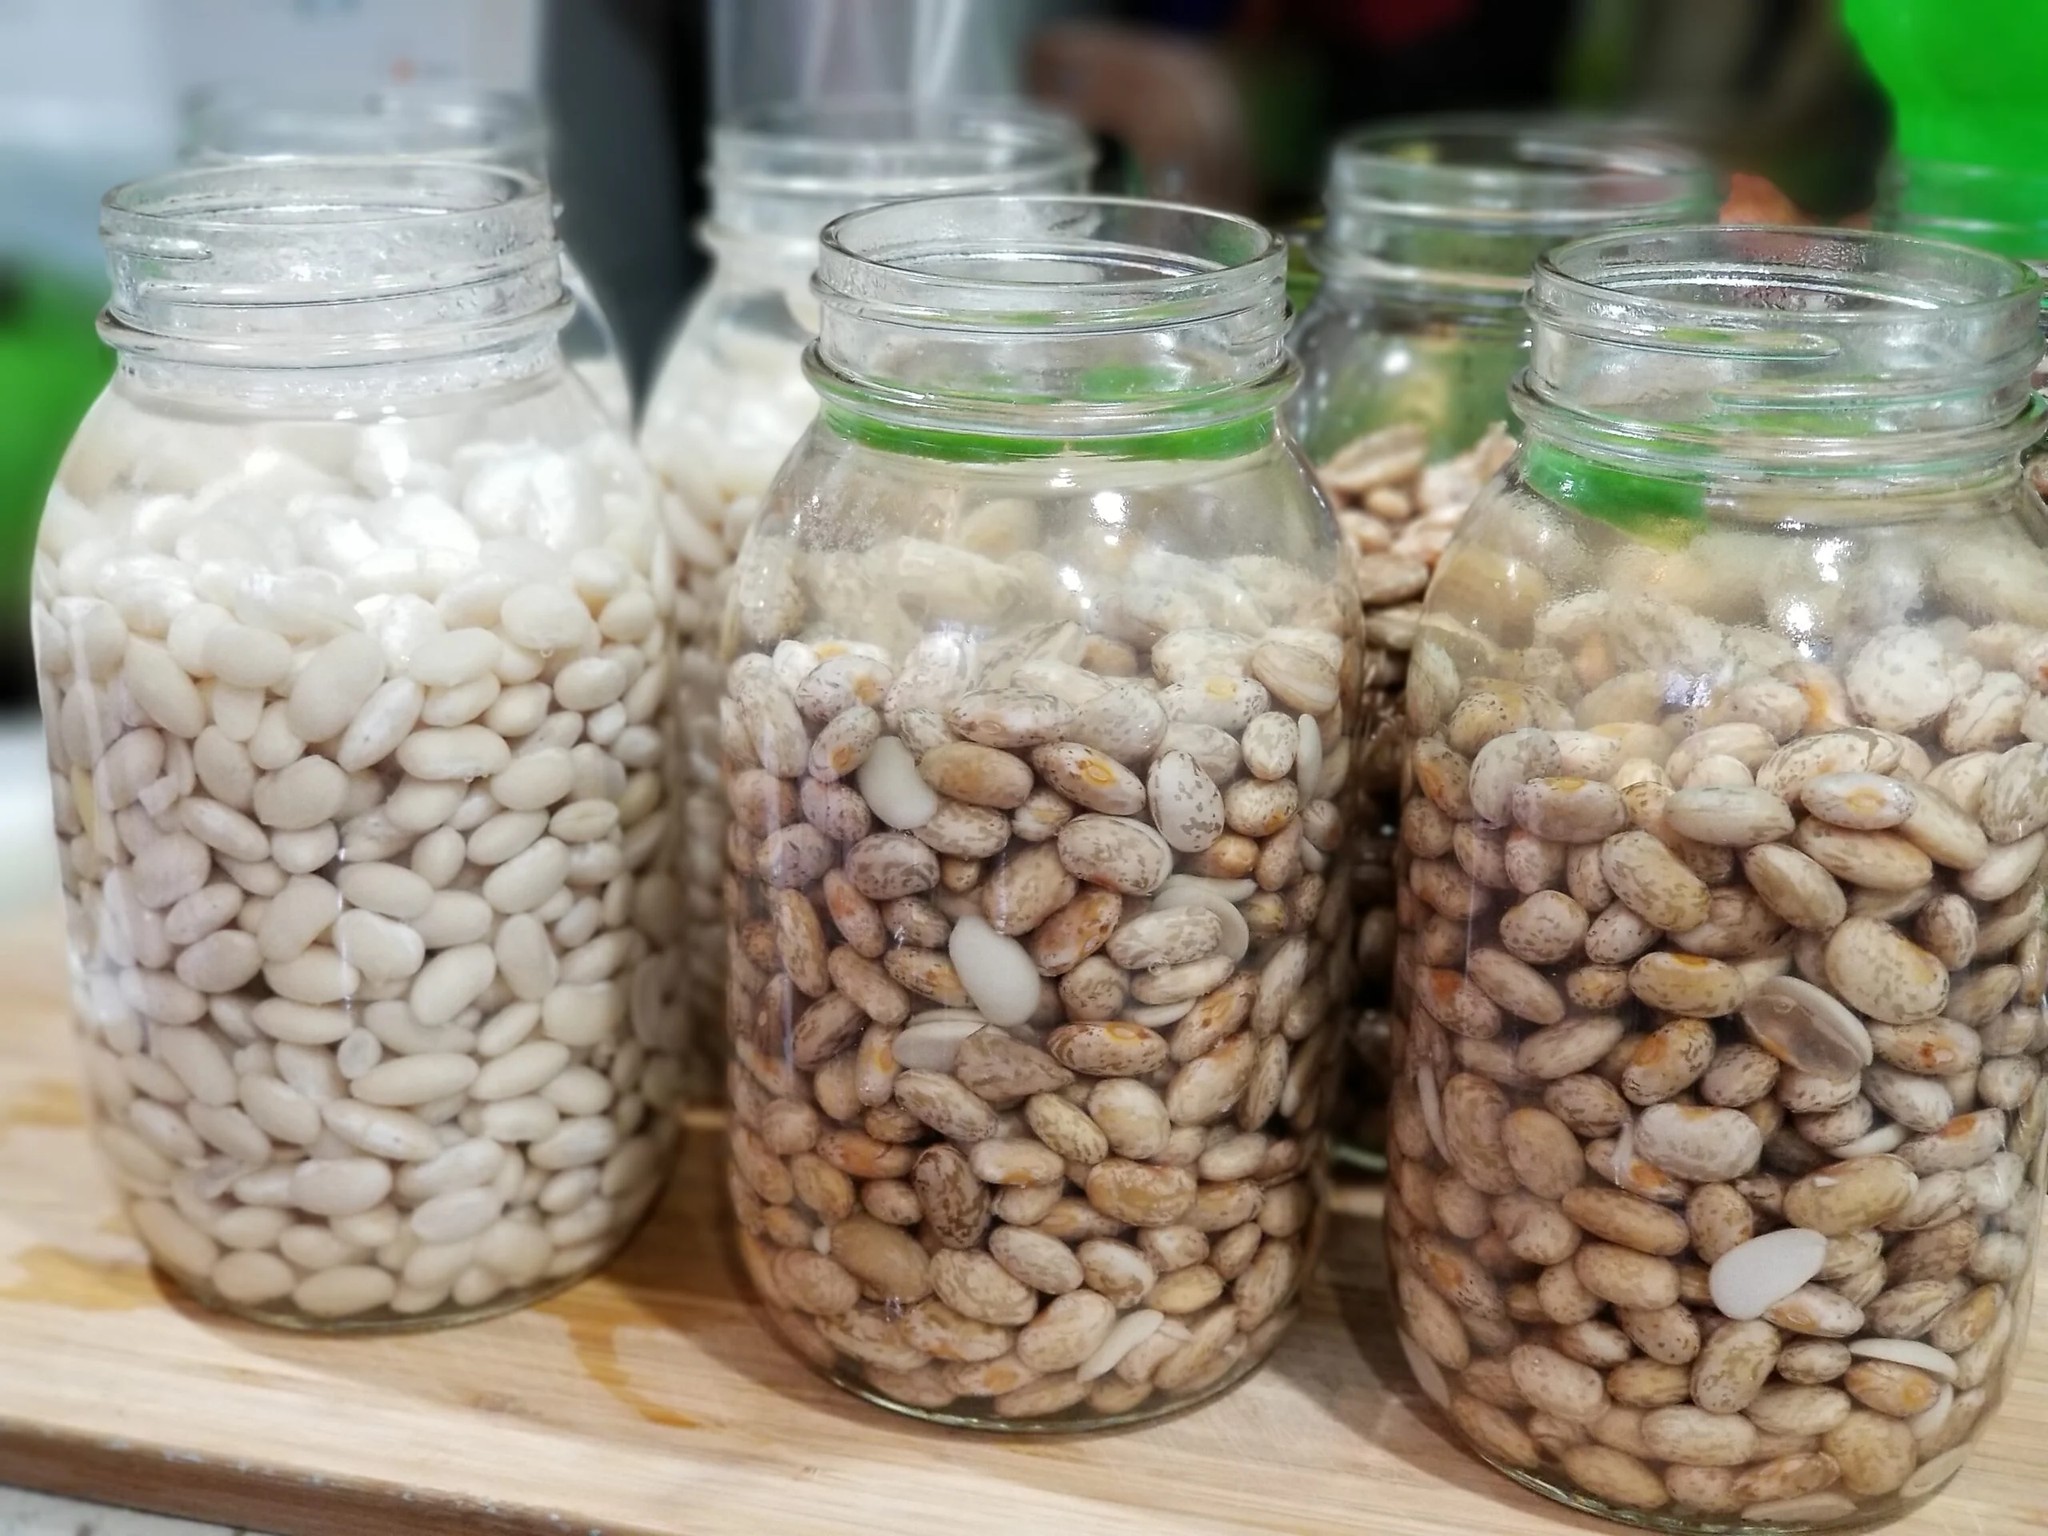
- Soak the Beans Overnight: Place the dried navy beans in a large pot and cover them with water. Let them soak overnight (8–12 hours) to soften. This step reduces cooking time and enhances the beans’ texture.
- Drain and Rinse: After soaking, drain the beans and rinse them thoroughly to remove any remaining impurities.
- Cook the Beans: In a large pot, combine the soaked beans with 12 cups of fresh water. Bring to a boil, then reduce heat and let simmer for 30 minutes or until the beans are just tender. Avoid overcooking, as they will soften further during the canning process.
- Drain and Set Aside: Once cooked, drain the beans and set them aside while you prepare the sauce.
Step 2: Prepare the Rich, Flavorful Sauce
- Sauté the Bacon: In a skillet, cook the chopped bacon over medium heat until it becomes crisp. Remove bacon pieces and set them aside, leaving the bacon fat in the skillet.
- Add Onions and Garlic: In the same skillet with the bacon fat, add the diced onions and minced garlic. Sauté until the onions are translucent and fragrant, which should take about 5 minutes.
- Create the Sauce: In a large mixing bowl, combine the molasses, brown sugar, yellow mustard, Worcestershire sauce, apple cider vinegar, tomato paste, and smoked paprika. Stir well to ensure all ingredients are fully incorporated.
- Combine Ingredients: Add the bacon, sautéed onions, and garlic to the sauce mixture, stirring to blend flavors.
Step 3: Combine Beans and Sauce
- Layer the Beans and Sauce: Return the beans to the large pot and pour the sauce mixture over them. Gently stir to coat all the beans in the rich sauce. Add about 4 cups of water or broth to the pot, depending on the consistency you prefer.
- Simmer: Bring the beans and sauce to a gentle simmer over low heat for 30–40 minutes. This allows the beans to absorb the flavors fully.
Step 4: Canning the Baked Beans
- Prepare the Jars: While the beans are simmering, sterilize your jars, lids, and rings. Follow the manufacturer’s instructions for jar sterilization, as this is crucial for safe canning.
- Fill the Jars: Using a ladle, spoon the hot beans and sauce into each sterilized jar, leaving about 1 inch of headspace at the top. This space is important to allow for the beans to expand during processing.
- Remove Air Bubbles: Gently tap the jars on a countertop or use a non-metallic tool to release any trapped air bubbles.
- Seal the Jars: Wipe the rims clean with a damp cloth to ensure a good seal, then place the lids on top. Screw the rings on until they are fingertip-tight.
Step 5: Pressure Canning
- Prepare the Pressure Canner: Add the recommended amount of water to the pressure canner and place the filled jars inside.
- Process the Jars: Process pint jars for 75 minutes or quart jars for 90 minutes at 10 pounds of pressure (or adjust based on your altitude).
- Cool the Canner: After processing, turn off the heat and allow the canner to depressurize naturally. Remove the jars carefully and let them cool on a towel or rack for 12–24 hours.
- Check the Seals: Once cooled, check the seals by pressing down on the lids. If they don’t pop, they’re sealed properly. Any unsealed jars should be refrigerated and used within a week.
Step 6: Storing Your Home-Canned Baked Beans
Store your canned baked beans in a cool, dark place, and they’ll be good for up to a year. When you’re ready to serve, simply heat them in a pot and enjoy the homemade goodness.
Serving Suggestions
Serve these delicious baked beans alongside BBQ dishes, fried chicken, grilled sausages, or even as a hearty topping for baked potatoes. They’re also fantastic on toast for a quick and satisfying meal.
Enjoy your home-canned baked beans as a versatile side, or make them the star of your plate!
ADVERTISEMENT
