ADVERTISEMENT
Instructions
Step 1: Prepare Your Pan and Preheat Oven
Preheat your oven to 350°F (175°C). Line an 8×8-inch baking pan with parchment paper, ensuring that it hangs over the sides for easy removal. This will prevent sticking and allow for easy cutting and serving later.
Step 2: Create the Crust and Topping
In a large mixing bowl, combine the oats, flour, brown sugar, melted butter, baking soda, and salt. Mix until the ingredients are thoroughly combined, forming a crumbly, moist dough. This mixture will act as both your crust and topping.
Reserve about 1 cup of this mixture for the topping. Press the remaining dough firmly into the bottom of the prepared pan to form an even crust.
Step 3: Partially Bake the Crust
Place the crust into the preheated oven and bake for 10 minutes. This partial baking will help the crust stay firm and chewy under the gooey filling, preventing a soggy bottom layer.
Step 4: Prepare the Caramel Filling
While the crust is baking, prepare the caramel filling. In a small saucepan over low heat, combine the caramel bits and heavy cream. Stir frequently to avoid burning, allowing the caramel to melt completely until smooth. Remove from heat and add in the vanilla extract, stirring until fully incorporated. The caramel should be thick and creamy, making it easy to spread.
Step 5: Layer with Chocolate and Caramel
Once the crust has finished its initial bake, sprinkle the chocolate chips evenly over the hot crust. Then pour the melted caramel mixture over the chocolate chips, spreading it gently to create an even layer.
Step 6: Add the Topping
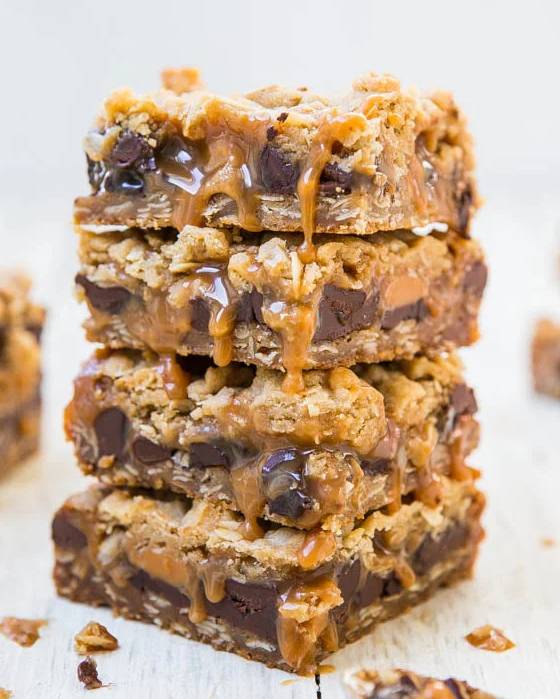
Take the reserved 1 cup of the oat mixture and sprinkle it over the caramel layer. This topping adds texture, giving the bars their signature chewy and crumbly finish.
Step 7: Bake to Perfection
Return the pan to the oven and bake for an additional 20–25 minutes or until the topping is a golden brown and the caramel is bubbling slightly around the edges. Keep a close eye on the Carmelitas in the final few minutes to avoid over-baking.
Please Head Over To Next Page There Still More ,,,
ADVERTISEMENT
